Pack for Rain by Checking Exposure and Drying Time
Choose a small wet-weather packing system around the time outdoors, footwear recovery, and access to drying space.
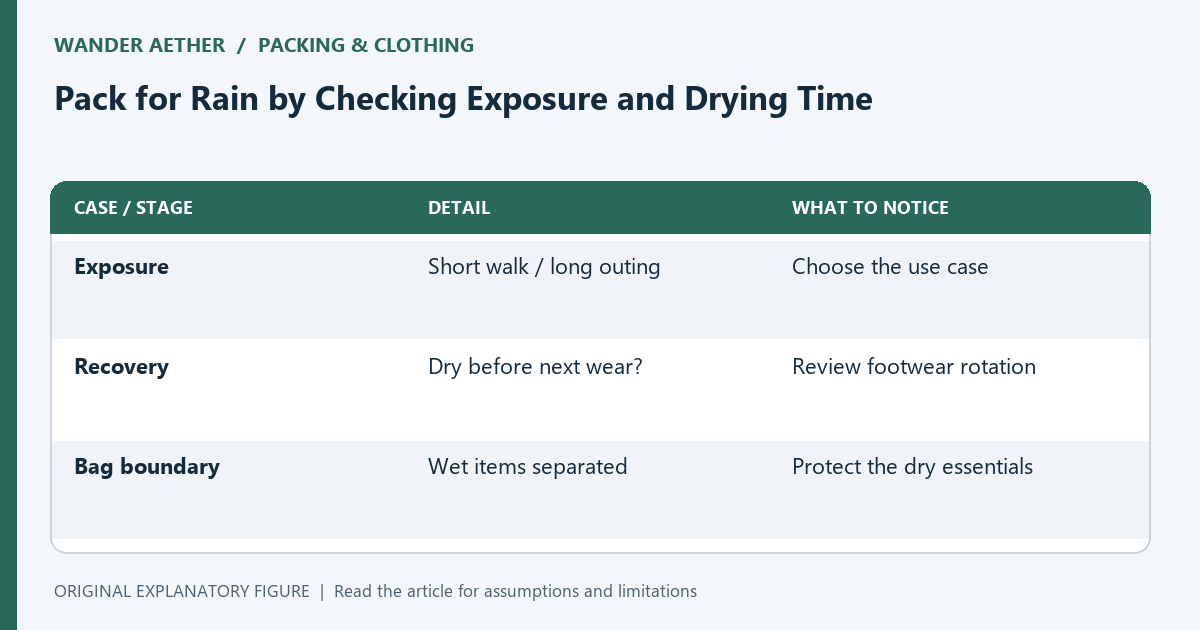
A forecast that mentions rain does not tell you exactly what to pack. The practical questions are how long you will be exposed, which activities you plan, and whether wet items can dry before the next use. This guide is a packing workflow rather than a weather prediction. Check the current forecast for your actual destination and adapt the plan to the activities you will do.
Map exposure rather than counting rainy days
Separate short walks between indoor stops from a long outdoor activity. A compact umbrella may suit one pattern while a hands-free outer layer suits another. Consider wind, carried equipment, and whether both hands are needed.
List the three places where getting wet would create the most inconvenience: a long transfer, an outdoor day, or an evening without drying space. Pack for those situations first. A general “rain outfit” can add weight without solving the specific problem.
Treat footwear as a recovery question
Shoes that are wet on day one may still be uncomfortable on day two. Before adding another pair, ask whether your schedule and accommodation allow the first pair to dry. Consider how you will isolate wet footwear from clean clothing during a transfer.
Weigh the spare pair instead of estimating from appearance. A second pair can be the heaviest optional item in a small bag. It may still be worth carrying, but the decision should compare the recovery benefit with its real space and weight cost.
Plan a dry-item boundary
Use a bag or compartment to separate damp items from items you need dry. Decide where a wet outer layer goes when you enter a train or accommodation. A waterproof layer is less useful if it drips onto your documents inside the main bag.
Keep the system simple and inspect its limits. A sealed bag can contain moisture during transport but is not a drying method. Open and dry suitable items when you reach an appropriate place, following the care instructions for the materials.
Connect clothing rotation to drying access
In an illustrative three-day plan, you have one travel outfit, one change, and a drying opportunity after the second day. Ask which items must be wearable before that opportunity. Socks and base layers may require a different rotation from an outer layer.
Use the clothing calculator for quantities, then check the assumptions it cannot verify: drying space, material behavior, and schedule. Adding more clothing is one option; changing the rotation or arranging laundry may be another.
Run a bag-level rehearsal
Pack the wet-weather items and simulate taking out the layer you need during a transfer. If it is buried below every outfit, move it near the opening. Place the dry-item protection where you can use it without unpacking the entire bag.
Weigh the completed bag and remove duplicates that solve the same problem poorly. Keep the item that fits the actual exposure pattern. Recheck the real forecast before departure; the workflow remains useful even when the final weather assumptions change.
| Case or stage | Detail | What to notice |
|---|---|---|
| Exposure | Short walk / long outing | Choose the use case |
| Recovery | Dry before next wear? | Review footwear rotation |
| Bag boundary | Wet items separated | Protect the dry essentials |